
Ductless mini split systems are now one of the most used heating and cooling systems in contemporary homes. They are popular with homeowners due to their energy efficiency, compact size and ability to offer year-round comfort without the need to install large ductwork. However, there is one question that recurs every time: are ductless mini splits easy to install?
The simple answer is yes – ductless mini splits are typically far easier to install than traditional HVAC systems. The difficulty however, will be determined by your experience, the kind of system you are going to use, and whether you will install it yourself or get a professional to install it.
We will discuss the process of mini split installation, why it is simpler than central air systems, and when it is more appropriate to hire a professional in this guide.
What Is a Ductless Mini Split System?
A ductless mini split is a heating and cooling system that consists of two main parts:
- An indoor air-handling unit.
- An outdoor compressor or condenser.
These parts are joined together with a small conduit that contains the power cable, refrigerant tubing and condensate drain line.
Mini splits can be installed more quickly and with less invasiveness since they do not require the installation of extensive ductwork.
Why Mini Splits Are Easier to Install Than Traditional HVAC Systems
One of the biggest advantages of ductless mini splits is their simple installation process.
Conventional HVAC systems may need:
- Large duct systems
- Significant wall or ceiling alterations.
- Extensive electrical work
- Significant labor time
Mini splits overcome most of these issues.
No Ductwork Required
One of the costliest and time-intensive components of a central air conditioning system can be the installation of ductwork. Mini splits are ductless, which means that installers just have to make a small hole in the wall to connect the indoor and outdoor units.
This makes them ideal for:
- Homes that are not ducted and are old.
- Home additions
- Garages
- Basements
- Small apartments
- Sunrooms
The process is much faster and cleaner without duct installation.
Faster Installation Time
A single-zone mini split system can be installed in a day by a professional. Multi-zone systems can be more time-consuming, yet typically faster to install than a conventional HVAC system.
The simplified design will save on labor expenses and lessen the inconvenience to your home.
Flexible Placement Options
Mini split systems have a flexible installation.
The units can be mounted indoors:
- On walls
- Near ceilings
- On floors
- Recessed into ceilings
The outdoor condenser may also be installed in a number of places, which is determined by the space available and local building codes.
This flexibility allows mini splits to be more flexible to fit various home designs.
Can You Install a Mini Split Yourself?
The question that many homeowners ask themselves is whether mini split installation is a do-it-yourself project. It will depend on the kind of system and your technical expertise.
Certain mini split systems are designed to be installed by DIY.
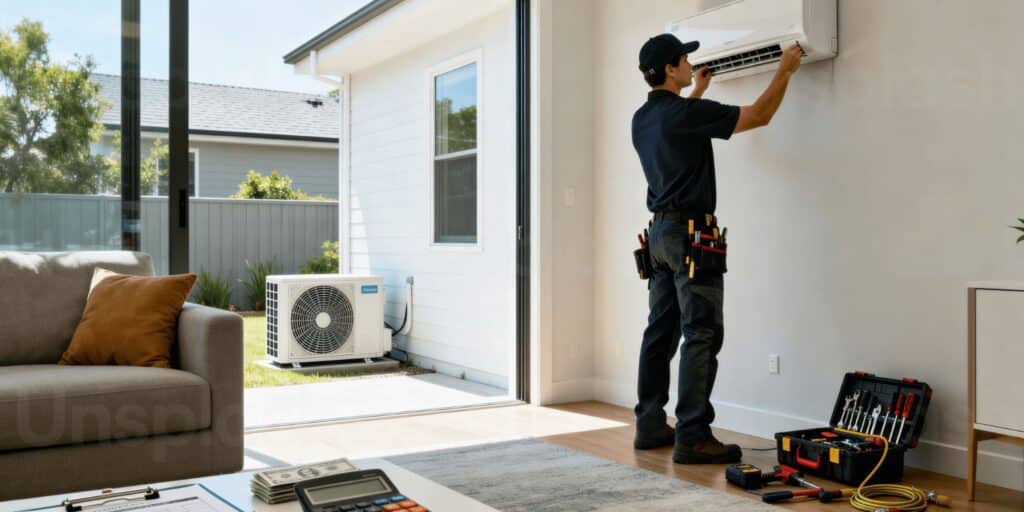
These models are usually accompanied by:
- Pre-charged refrigerant lines
- Detailed instructions
- Quick-connect fittings.
These systems can be manageable to skilled DIYers.
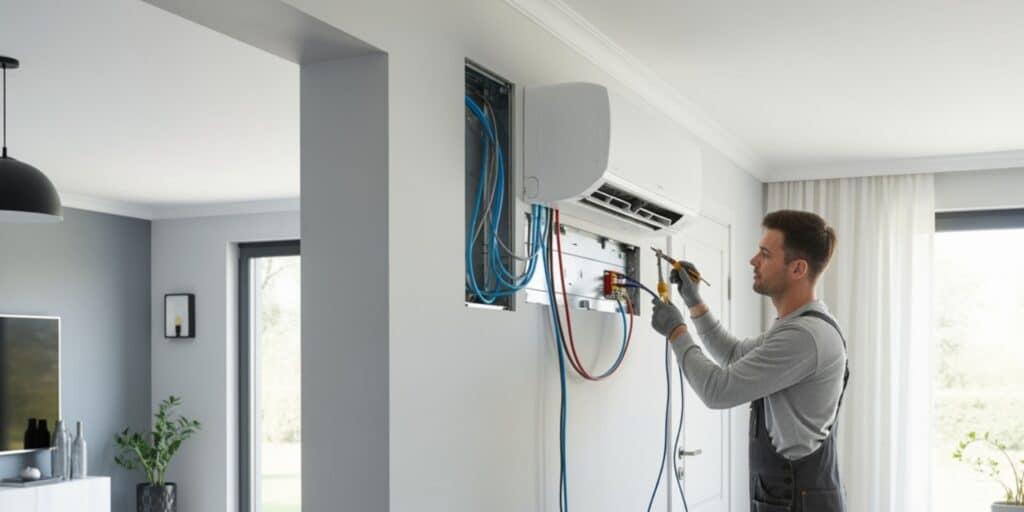
Nevertheless, the installation of a mini split requires a number of technical procedures such as:
- Installing the indoor unit.
- Fitting the outdoor condenser.
- Drilling through walls
- Connecting refrigerant lines
- Handling electrical wiring
- Sealing the lines with a vacuum.
- Testing the system
Errors in the installation process may decrease the efficiency, harm the system or even cancel the warranty of the manufacturer.
The Basic Mini Split Installation Process
Knowing how to install it can make you determine whether the task is manageable.
Step 1: Choosing the Right Location
The installer chooses the most suitable location of the indoor and outdoor units. Airflow, efficiency, and drainage must be properly placed.
The indoor unit must be placed in such a way that the air flows evenly in the room.
Step 2: Mounting the Indoor Unit
The indoor air handler is mounted on a mounting plate that is attached to the wall.
A small hole is drilled through the wall to run the conduit containing:
- Refrigerant tubing
- Electrical wiring
- Drain line.
Step 3: Installing the Outdoor Unit
The outdoor condenser is mounted on a concrete pad, wall bracket or other stable surface.
It must have sufficient air circulation and space surrounding the unit to operate.
Step 4: Connecting the Refrigerant Lines
The refrigerant lines are used to connect the indoor and outdoor units.
This is a very important step since improper connections may cause leaks, ineffective cooling, and damage to the compressor.
Step 5: Electrical Connections
Mini splits need special electrical circuits.
Electrical work may include:
- Installation of a disconnect box.
- Running new wiring.
- Connecting breakers.
Electrical work must be in accordance with local building codes.
Step 6: Vacuuming and Testing
Before starting the system, professional installers apply a vacuum pump to the refrigerant lines to eliminate moisture and air.
The last process is to test the system to verify that it is working.
Benefits of Hiring a Professional Installer
Although DIY installation can be cost-effective in the short run, a professional installation can be beneficial in the long-term.
Proper System Sizing
The proper size of the system is calculated by HVAC professionals according to:
- Room dimensions
- Insulation
- Climate
- Window placement
- Sun exposure
A system that is either too large or too small may decrease comfort and efficiency.
Warranty Protection
Many manufacturers require professional installation to maintain warranty coverage.
Warranty claims can be rejected without the appropriate documentation.
Faster and Safer Installation
Experts possess the equipment and expertise to accomplish the task effectively and securely.
They are also able to detect possible problems before they turn out to be costly problems.
How Much Does Mini Split Installation Cost?
Costs of installation are dependent on:
- System size
- Number of indoor units
- Home layout
- Labor rates
- Electrical upgrades
The average cost of professional installation of a single-zone mini split system could be between $2,000 and $5,000 dollars, including equipment.
The DIY systems will save on labor expenses, yet the homeowners are to expect to spend money on the tools, permits, and potential electrical work.
Are Ductless Mini Splits Worth Installing?
The answer is yes, to many homeowners.
Ductless mini splits have a number of key benefits:
- Energy efficiency
- Quiet operation
- Zoned temperature control
- Easy installation
- Lower energy bills
- Improved indoor comfort.
They are particularly applicable in residential premises where ductwork will be hard or costly to install.