
Flushing your water heater is an essential maintenance task that helps improve efficiency, extend the unit’s lifespan, and ensure clean hot water in your home. Over time, sediment and mineral buildup collect at the bottom of the tank, especially in areas with hard water. If left untreated, this buildup can reduce heating efficiency, cause strange noises, and even damage your water heater.
In this guide, you’ll learn how to flush a water heater safely and effectively, even if you’re a beginner.
Why Flushing a Water Heater Is Important
Let’s start with a quick explanation as to why you might do this.
Sediment creates a barrier between the water and the source of heat. This means that your heater has to work harder, hence the higher running cost and wear. And in gas heaters, it may make popping noises.
Regular flushing:
- Improves heating efficiency
- Extends the lifespan of the unit
- Reduces energy costs
- Prevents damage and corrosion
- Provides a better-tasting hot water
It’s recommended that you flush your water heater annually. This might increase to two or three times a year in areas of hard water.
Tools and Materials You’ll Need
For this project you will need:
- Garden hose
- Bucket (optional)
- Adjustable wrench
- Screwdriver (optional)
- Gloves (for safety)
This will speed up the process.
Step-by-Step Guide to Flushing a Water Heater

Turn Off the Power or Gas Supply
Safety comes first. For electric water heaters, turn off the power at the circuit breaker. If there is a gas water heater, switch the thermostat to “pilot” or turn off the gas.
This will also stop the water heater from coming on while the water tank is empty.
Turn Off the Water Supply
Shut off the cold-water supply at the top of the water heater. This prevents water from flowing into the tank while it is being drained.
Cool the Water
Draining hot water can be dangerous, so leave the water to cool for 2 hours or so. If you need to, you can also open a faucet and let a small amount of hot water out.
Attach a Hose to the Valve
Use a garden hose attached to the drain opening at the bottom of the water tank. Route the other end to a floor drain, outside or into a bucket.
Be careful not to create a leak.
Open a Hot Water Faucet
Open a hot water faucet inside the house. This will open up a flow path and keep the tank from vacuuming.
Drain the Tank
If you have a drain valve on the tank, turn it gently to let the water out through the hose. Be careful, the water could be hot.
Allow the tank to finish draining. This process can take 20-30 minutes.
Flush Out Sediment
With the tank drained turn the cold water back on for a few minutes. This will help move and remove any remaining debris.
Run the water until it runs clear. You may have to do this a couple of times if the tank is badly sedimented.
Turn off the Valve and Fill the Tank
Once you have flushed, reattach the drain valve and remove the hose.
Open the cold water supply again and let the tank fill up. Continue to hold open the hot water faucet until the water runs continuously, then the tank should be full and any air is out of the system.
Turn the Power or Gas Back On
With the tank filled, turn the power or gas back on.
This will prevent damage to the heating elements.
Signs Your Water Heater Needs Flushing
If you aren’t sure if your water heater needs flushing, here’s what to look for:
- Popping and rumbling or other unusual noises
- Decreased hot water
- Slower hot water
- Discolored or rusty water
- Higher energy costs
Sediment in the water tank can cause these issues.
Tips for Better Maintenance
Cleaning out your water heater is not enough.
Here are some other tips for proper maintenance:
Check the anode rod: This component prevents rust inside the tank and should be inspected every 2–3 years.
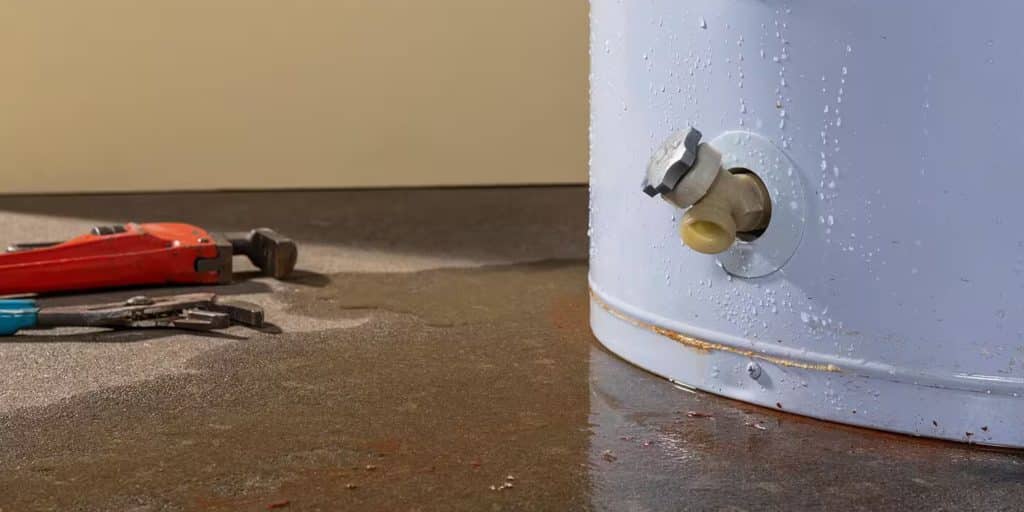
Inspect for leaks: Regularly check around the base and connections.
Set the right temperature: Keep your thermostat at around 120°F to save energy and prevent overheating.
Install a water softener: If you have hard water, this can significantly reduce mineral buildup.
Common Mistakes to Avoid
While flushing a water heater is straightforward, there are a few common mistakes you should avoid:
- Forgetting to turn off power or gas before draining
- Not allowing the water to cool down
- Turning the heater back on before the tank is full
- Skipping regular maintenance.
Avoiding these mistakes can save you from costly repairs.
When to Call a Professional
While most homeowners can flush a water heater themselves, there are situations where professional help is recommended:
- The drain valve is clogged or won’t open
- You notice leaks or corrosion
- The unit is very old (10+ years)
- You’re unsure about handling gas or electrical components
A licensed plumber can ensure the job is done safely and correctly.
Keep Your Water Heater Running Efficiently
Flushing your water heat pump systems is a simple yet highly effective way to maintain its performance and longevity. By removing sediment buildup, you can improve efficiency, reduce energy costs, and ensure a consistent supply of hot water.
With the step-by-step process outlined above, you can confidently flush your water heater at home. Make it part of your annual maintenance routine, and your system will reward you with reliable performance for years to come.