
Installing a window air conditioner may seem intimidating at first, but with the right tools and a clear plan, it’s a manageable DIY project. Whether you’re trying to beat the summer heat or reduce reliance on central cooling, a properly installed window AC unit can make a significant difference in comfort and energy efficiency.
This guide will walk you through the entire process in a simple, easy-to-understand way so you can install your unit safely and correctly.
Why Choose a Window Air Conditioner?
The cooling of homes and apartments is one of the most popular uses of window air conditioners. They are cheap, can be used in a single room, energy efficient, and can be installed comparatively without expert assistance.
Key benefits include:
- Cost-effective compared to central AC systems
- Quick installation process
- Ideal for small to medium size rooms
- Saving of energy in cooling of specific areas
Tools and Materials You’ll Need
Prepare all the tools and materials before you start. It will be easier and quicker to have everything ready.
Essential tools:
- Screwdriver (Phillips and flathead)
- Measuring tape
- Level
- Drill (optional but helpful)
Materials included with AC units:
- Mounting brackets
- Side panels (accordion panels)
- Screws and fasteners
- Foam insulation.
Choosing the Right Window
Not all windows are suitable for installation, so selecting the right one is an important first step.
Look for these features:
- Sliding (up and down) windows
- Strong window frame
- Nearby electrical outlet
- Proper size to fit your AC unit.
Make sure the size of the window is near a source of power and is capable of holding the weight of the air conditioner.
Measuring Your Window and AC Unit
Accurate measurements are crucial for a secure fit.
- Measure the width of the opening of the window.
- Measured height between the sill and the bottom of the upper sash.
- Compare these readings against your AC unit specification.
The recommended range of window size is given by most manufacturers. Make sure your window fits into that range or you will have problems with installing it.
Preparing the Window Area
Before installing the unit, prepare the space properly.
- Clean the sill and the frame of the window
- Remove any debris or dust
- Make sure the window opens and closes easily
- Look at the frame to see whether it has any damage or rot.
The stable surface should be clean to achieve better sealing and support.
Installing the Mounting Brackets
The mounting brackets are used to offer additional support and make the air conditioner firmly fixed.
- Attach the brackets to the window frame according to the manufacturer’s instructions
- Test them with a level so that they are straight
- Tighten all screws firmly.
There are newer models of AC which might not need external bracketry, but the external brackets are additionally a safety measure.
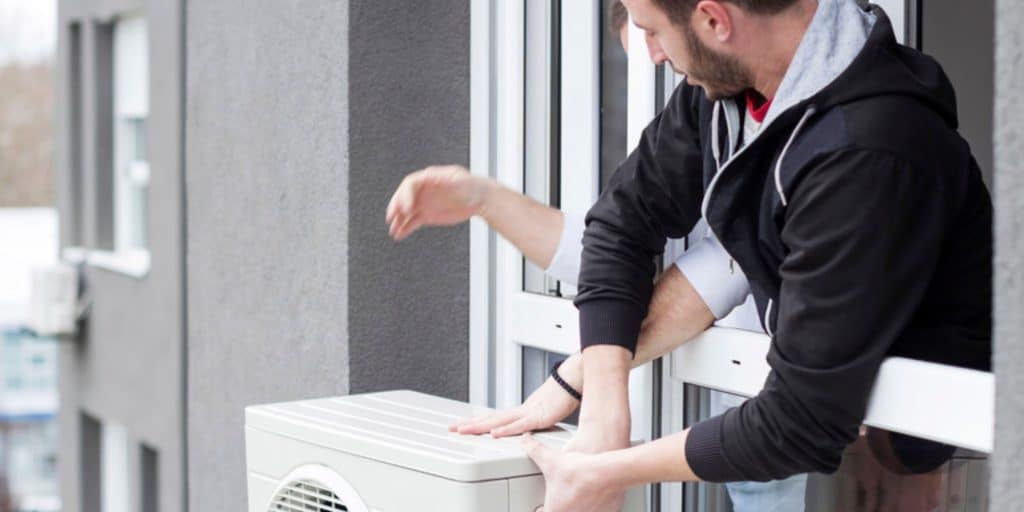
Placing the Air Conditioner in the Window
This process can involve two individuals because window air conditioners are heavy.
- Carefully pick up the unit and put it on a sill of the window.
- Place the unit in the window aperture.
- Gently place the sash of the window on the top of the unit.
Make sure the unit is tilted a little outwards. This facilitates the proper draining of condensation.
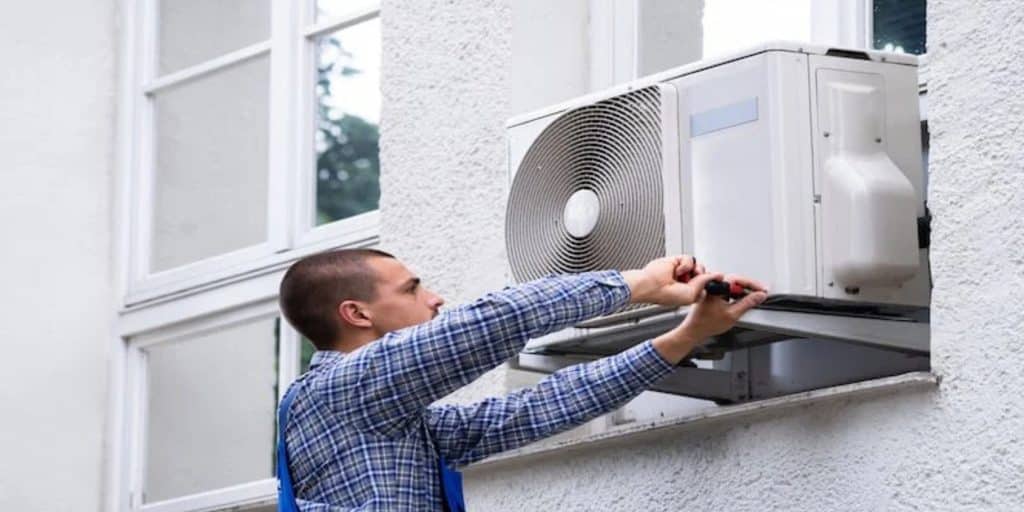
Securing the Unit
After placing the AC, it should be fixed firmly so as not to move around.
- Install screws on the frame into the unit.
- Lock the window sash in place
- Insert brackets or locking devices as necessary.
This measure is necessary in terms of safety and efficiency.
Installing Side Panels and Sealing Gaps
Side panels are used to prevent external air, insects and dust.
- Stretch the accordion panels on each side.
- Fix them firmly on the window frame.
- Seal any gap with foam insulation.
Proper sealing improves cooling performance and prevents energy loss.
Adding Extra Insulation
Minor loopholes are efficiency killers. Take some additional time and insulate.
- Apply foam strips on the edges.
- Close the top of the window sash.
- Better insulation should be considered through weather stripping.
This step helps keep cool air inside and hot air outside.
Plugging In and Testing the Unit
Now that your air conditioner is installed, now it is time to test it.
- Fit the plug in a special socket.
- Turn it on and adjust the temperature to your wish.
- Listen for unusual noises.
- Check cooling performance and airflow.
If everything works well, then you have succeeded in your installation.
Safety Tips to Keep in Mind
When installing any appliance, safety should always be of priority.
- Do not install the unit while it is heavy.
- Make sure that the unit is fastened.
- Avoid using extension cords.
- Ensure that the electric socket is capable of supporting the load.
Proper installation reduces the risk of accidents and ensures long-term performance.
Common Mistakes to Avoid
Avoiding these common errors can save you time and frustration:
- Installing in the wrong window type
- Not measuring properly
- Skipping insulation
- Failing to tilt the unit outward
- Not securing the unit tightly
Paying attention to details makes a big difference in efficiency and durability.
Maintenance Tips After Installation
Once your window air conditioner is installed, regular maintenance will keep it running efficiently.
- Clean or replace the air filter every few weeks
- Check for air leaks and reseal if needed
- Clean the exterior and remove debris
- Inspect the unit at the start of each season.
Routine care extends the lifespan of your AC unit and keeps energy costs low.
Key Takeaways
Installing a window air conditioner doesn’t have to be complicated. With careful planning, the right tools, and step-by-step execution, you can complete the installation in under an hour.
By following this guide, you’ll not only ensure a secure and efficient setup but also enjoy a cooler, more comfortable space during hot weather. Take your time, double-check each step, and you’ll have your air conditioner up and running in no time.